
Thanksgiving is a wonderful family time and a great opportunity to indulge in some fun Thanksgiving craft projects with the kids. As well as having a turkey in the fridge ready for the big feast, what about some turkey magnets to go on the fridge as well?! Below is a quick and simple craft project with step-by-step instructions which can be done with the kids and yields some lovely results. It’s pretty quick and simple to complete and doesn’t need too much in the way of materials. At the bottom of the page we also have a quick instructional video if you want to see the project “live”.
The team at Craft Croc wishes you and your family a safe and happy Thanksgiving holiday.
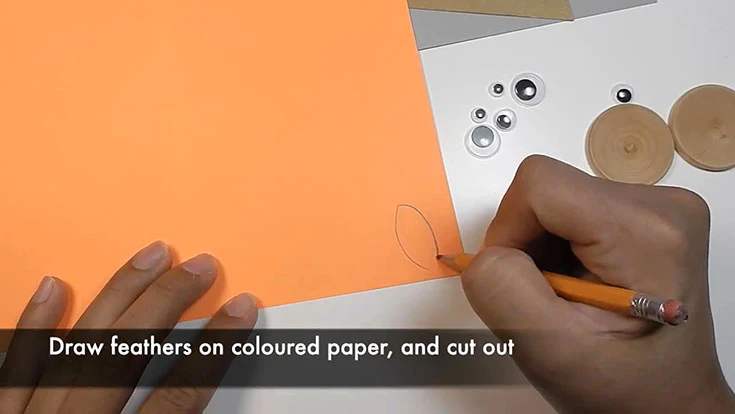
To get started, draw some “turkey feathers” on your card stock as per the image below.
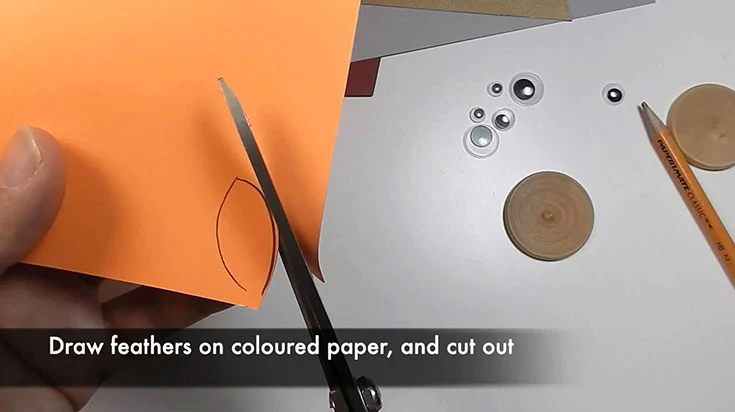
Cut each of the “feathers” out from the card stock.
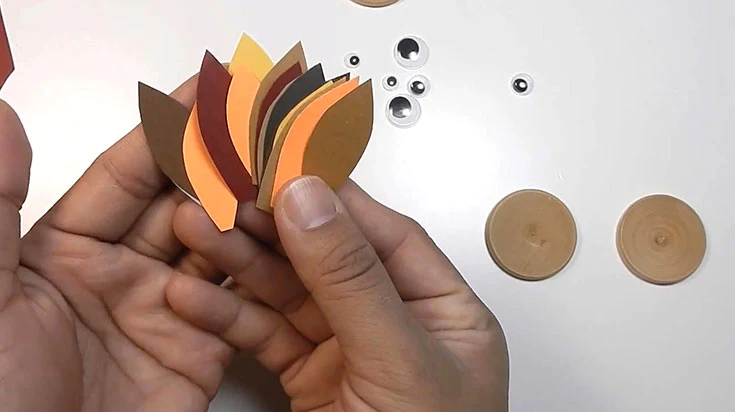
Keep on going until you have have a good selection of “feathers” in variety of nice fall colors.
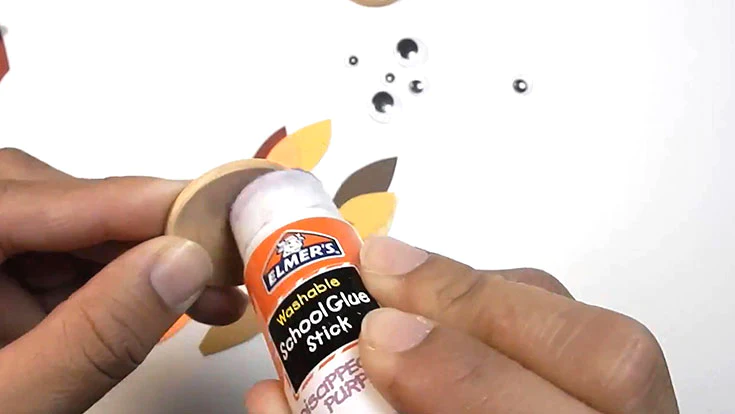
Using your glue stick place some glue on half of one side of one of the wooden circles (i.e. so it covers 50% of one side).
Then stick the feathers you have made from the card stock onto the wooden circle as per the image below.
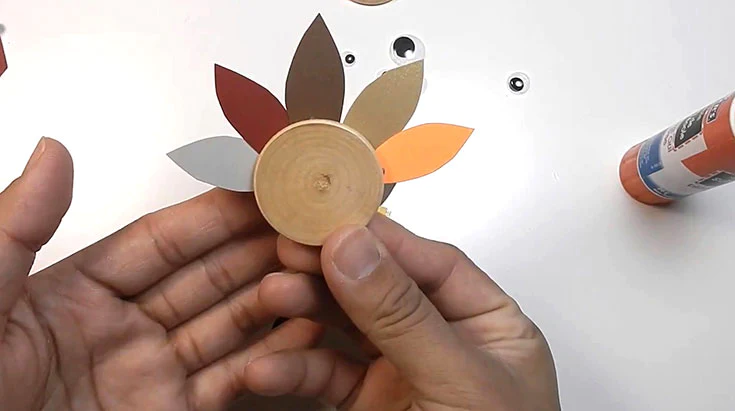
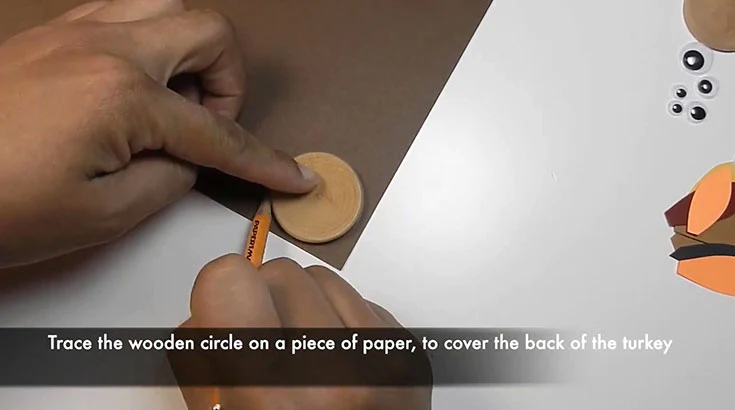
Using another wooden circle, trace a circle onto the card stock to make a cover for the back of the turkey.
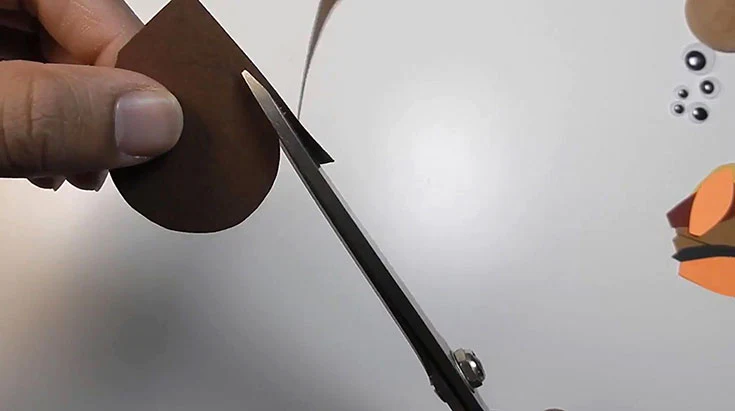
Cut the circle out from the card stock with your scissors.
Using the glue stick, cover the entire back surface (the same surface the feathers are glued to) with glue. Use the image below for guidance.
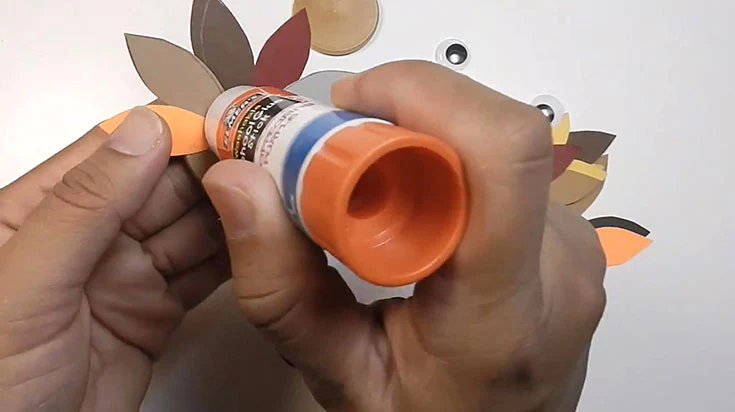
Now place the circle you have made from the card stock onto the back of the turkey (see below).
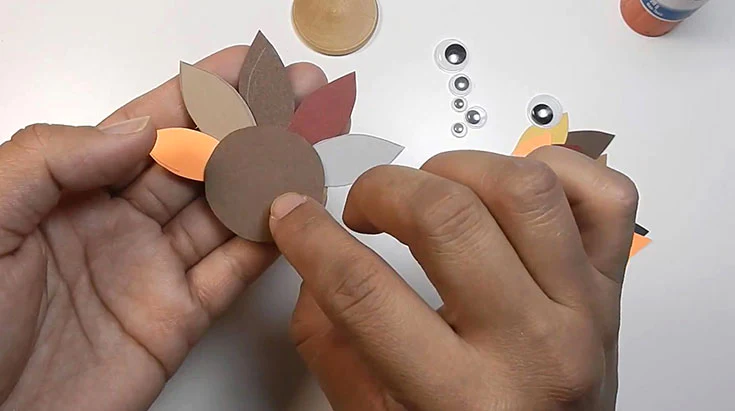
Using your scissors, cut a small beak from some orange colored card stock.
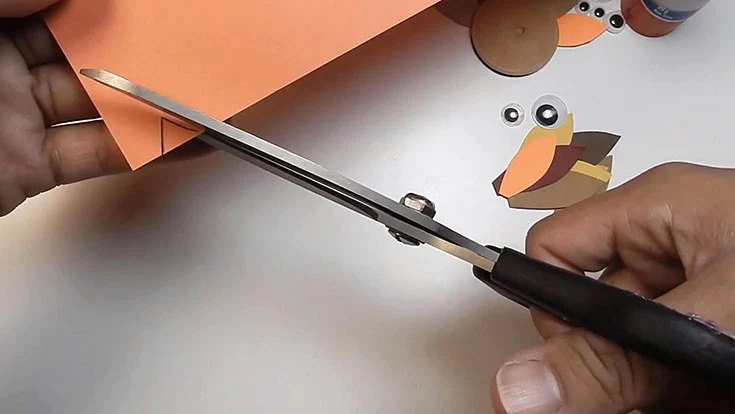
Apply glue to the beak with your glue stick.
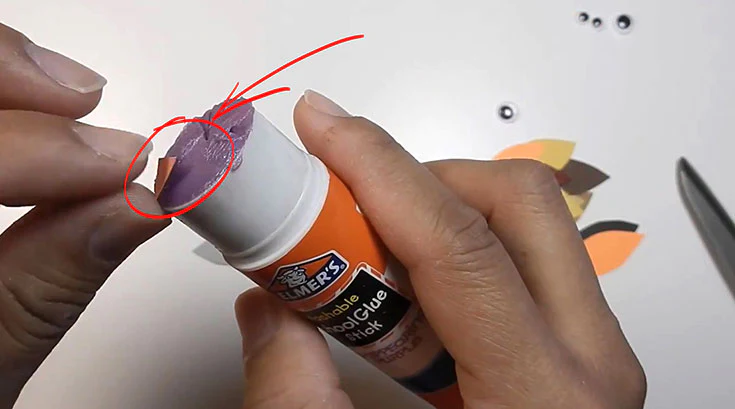
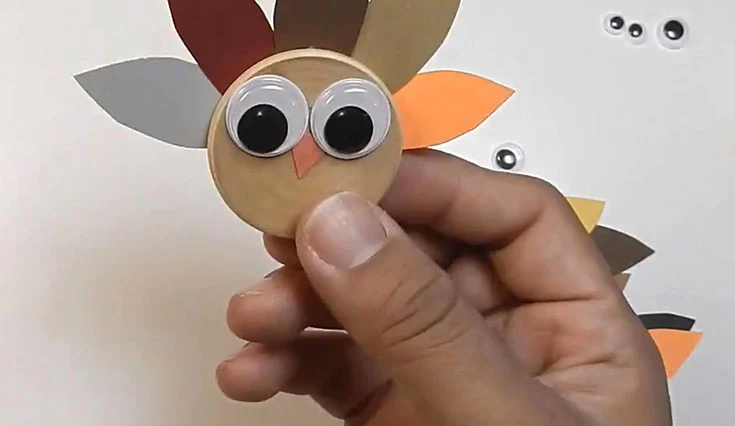
Place the glued surface of the beak onto the front of the turkey. The front is the exposed wooden side of the circle.
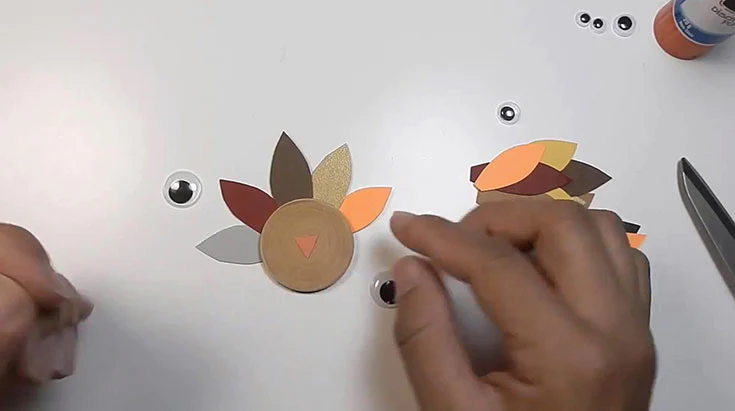
Using the glue stick, cover the back of the googly eyes ready for placement. You can use different size googly eyes for a different effect, however it looks better to keep left and right eye size consistent. We think a turkey with a big right eye and little left eye might look a bit loco! (unless that’s the look you’re going for…)
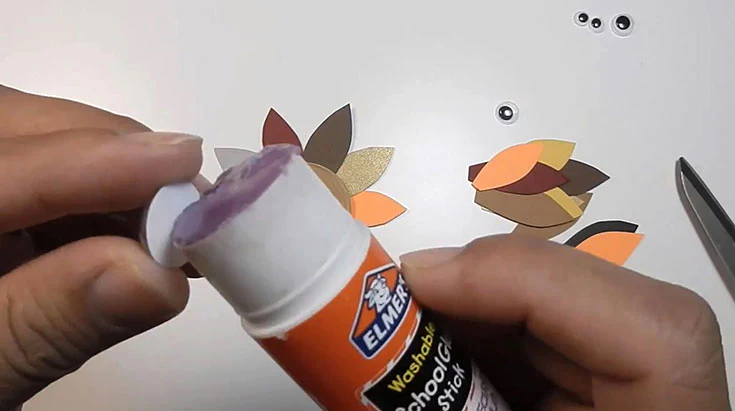
Place the eyes on the front surface of the turkey as below.
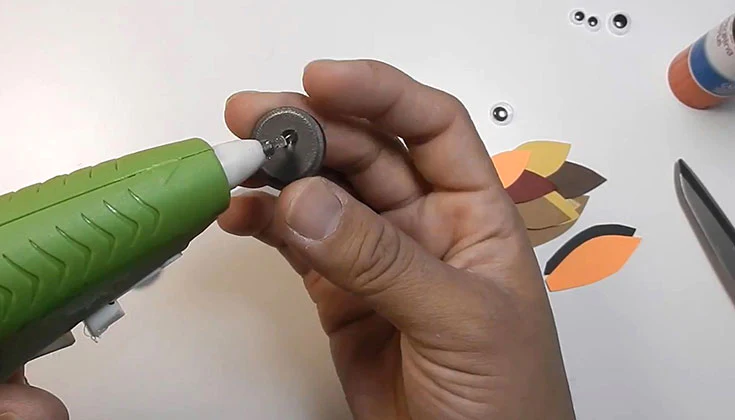
Using your hot glue gun, place a dab of hot glue on a magnet (Kids, ask mom or dad for help with this bit. Be careful not to burn yourself!).
Place the magnet with hot glue in the center of the back of the turkey and you are good to go! Job done, finito!
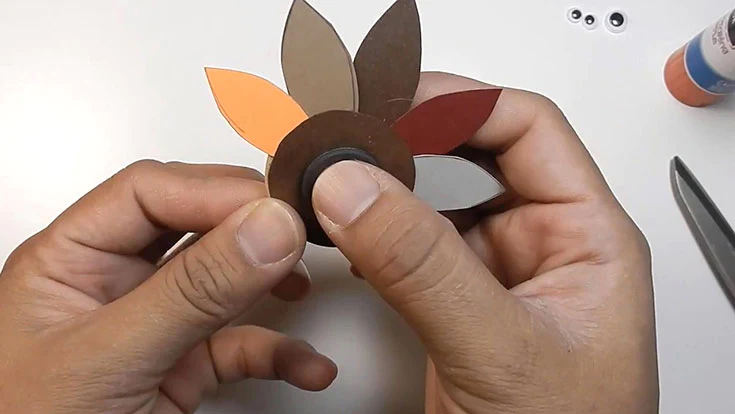
You can carry on making these cool turkeys to your heart’s content or until there is no more room on the door of the refrigerator.
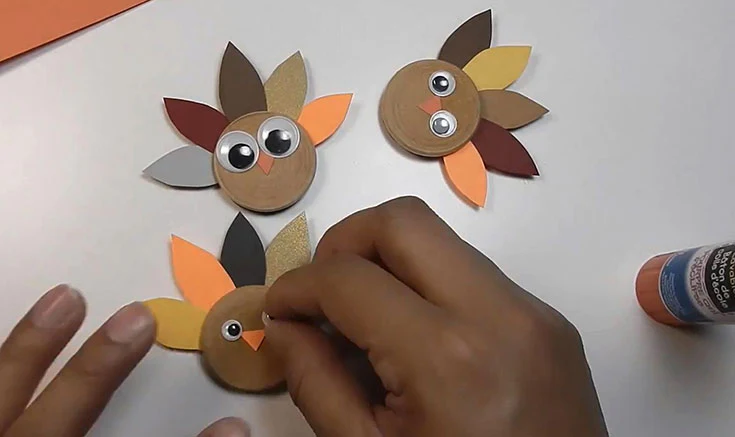
Thanks to Make a Paper Boat for the inspiration for this post.
We hope you enjoyed this fun project. We love seeing what your readers have been up to so please share your endeavors and any of your own Thanksgiving craft projects on our Crafty Croc Facebook page for all to see and once again, we wish all our readers and valued customers and their families a very safe and happy Thanksgiving holiday!


