
Making crafts and doing DIY projects is a perfect holiday activity. Chances are, the cold weather outside (and not to mention the pandemic) is keeping you indoors, and you may have some extra free time due to holiday vacations. As an artsy person, what better way to spend this time than making something beautiful with your very own hands? It would be even better if you could do it as a family bonding activity.
There are so many different projects that are a great fit for the holidays, but today we’re going to talk about one in particular: decorating your windows with liquid chalk markers. In this article, we’ll tell you all about why this activity is such a blast and how you can create beautiful art with your window markers.
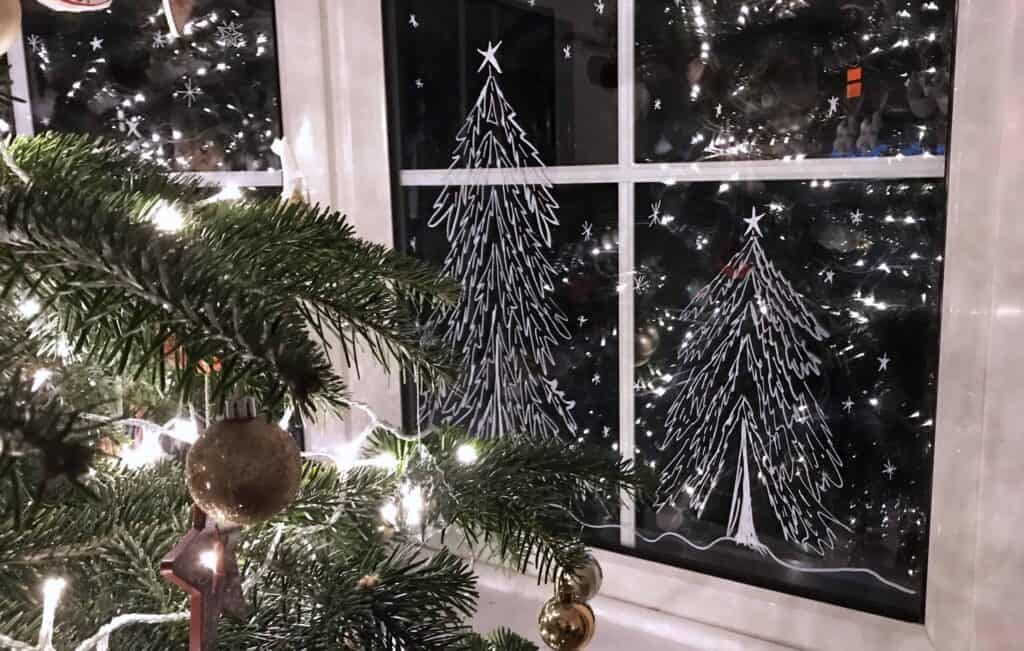
If you’re looking for your next crafty project this holiday season, we think you should seriously consider going the liquid chalk marker route. Why?
Well, first, it’s simple. This project requires very few supplies, making it both affordable and convenient. All you need is a chalk marker or two and some stencils if you want to get extra fancy.
That also makes this project well-suited for all ages. Any kid who can scribble, draw, or doodle has all of the necessary skills to do this project. Plus, it’s easy to clean up, as you can just wipe away the artwork afterward. On the flip side, more experienced crafters and artists will be able to get as detailed, intricate, and artistic with chalk markers as they want to. Whether you are a professional artist or a fun-loving-family, you can create something special with chalk markers.
This craft is especially well-suited to the holidays because it allows you to display art for the outside world through your windows. So whether you have a storefront or just want to do this at home, liquid chalk markers allow you to decorate and make your space look more festive for the winter holidays. It’ll go great with your other holiday decorations like string lights and inflatable snowmen or whatever it is your family likes to decorate with in the winter to celebrate.
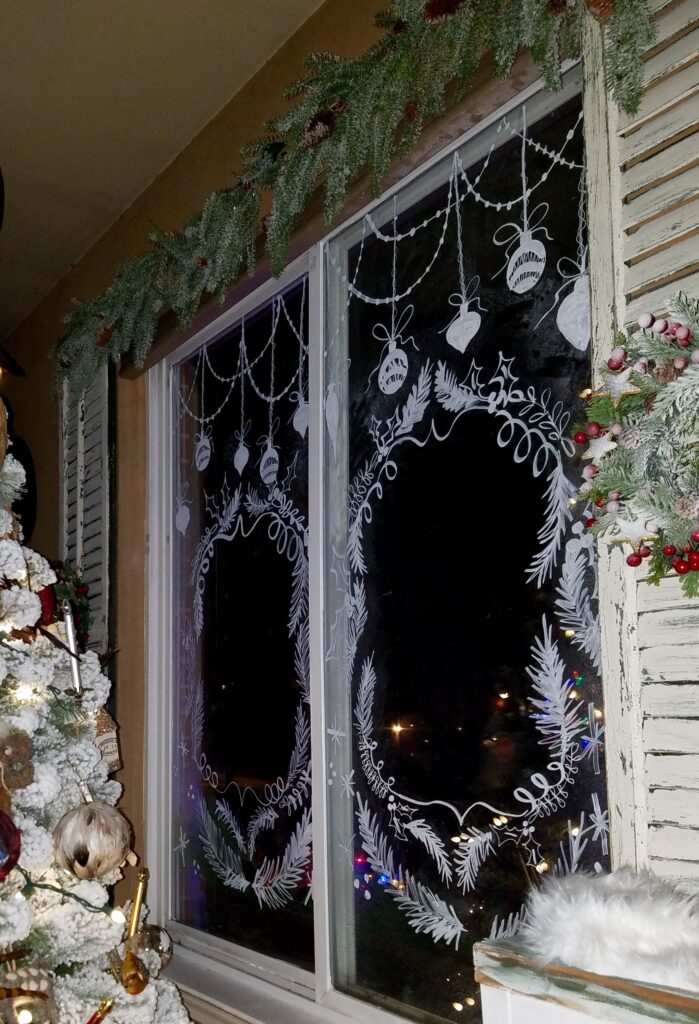
First, it’s important to note that this craft can really be as simple as handing your kids a few liquid chalk markers and letting them go to town on the windows, perhaps with a few holiday-themed stencils to guide them. But if you want to create something more creative or intricate, here is a quick guide for how you can do so.
The first step of creating your window art – like with any work of art – is to plan what you’re going to draw or write. One step of this is to make a decision about which direction you want to make your design go in. This is a choice of whether your design will be made to be looked at from the inside or outside of your window.
If you simply draw something, it won’t make so much of a difference either way, but if you include text, you’ll have to decide who will be able to read it: passersby outside or family inside. If your goal is to wish a happy holiday to your neighbors, it’s probably a good idea to have your text facing outward.
Another part of the planning phase will be choosing your color palette. The classic color for chalk markers is white, which can be a great choice for holiday-themed art such as snowscapes. However, chalk markers come in other colors as well, ranging from neons to metallics to earth tones, so you can choose whatever color scheme you feel is the right fit for your artwork. Green, red, and blue may be particularly fitting choices for a holiday artwork.
Finally, you’ll want to plan out your design. Here, the only limit is your creativity. You can really draw and write whatever it is that you feel like. But to get you inspired, here is a list of some great ideas for holiday chalk marker window art:
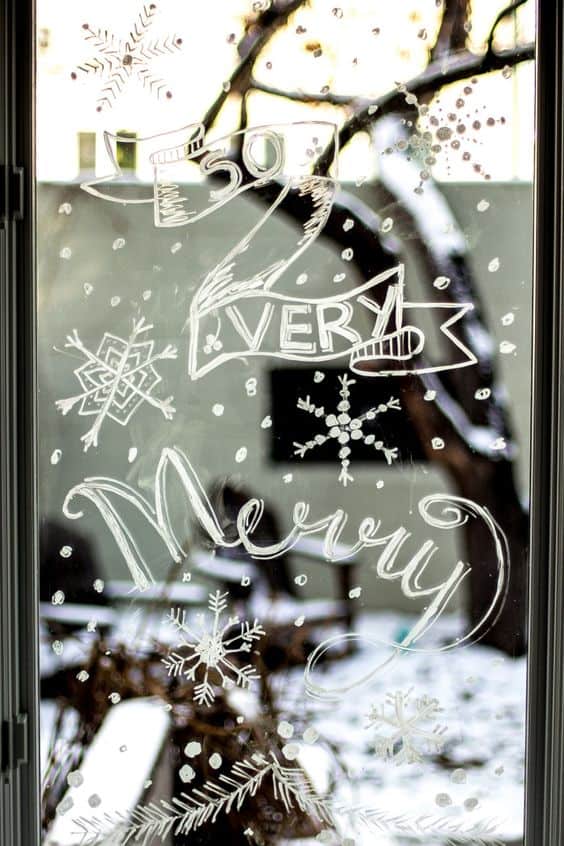
The next step of creating your window art is to sketch out your design. If you’re very confident in what you want to draw or write and your abilities as an artist or calligrapher, you can go ahead and sketch straight onto your window. However, we generally recommend starting out with a sketch on paper first so you can be sure that you’re happy with your design and layout before you take it to the big time.
Don’t worry, though, if you do start drawing on your window and realize that you’re not happy or you made a mistake, it’s super easy to wipe the liquid chalk away and start over again.
Once you’re settled on a design and happy with your sketch, it’s time to go to town! Here you can go as simple or as detailed as you want. Liquid chalk markers are actually a pretty flexible medium, allowing you to do things like blend and add texture. This is the fun part: you get to express yourself and let your holiday vision really come to life. You’ll probably get better and better at using chalk markers as you go along, so your second window will likely turn out even more impressive than your first.
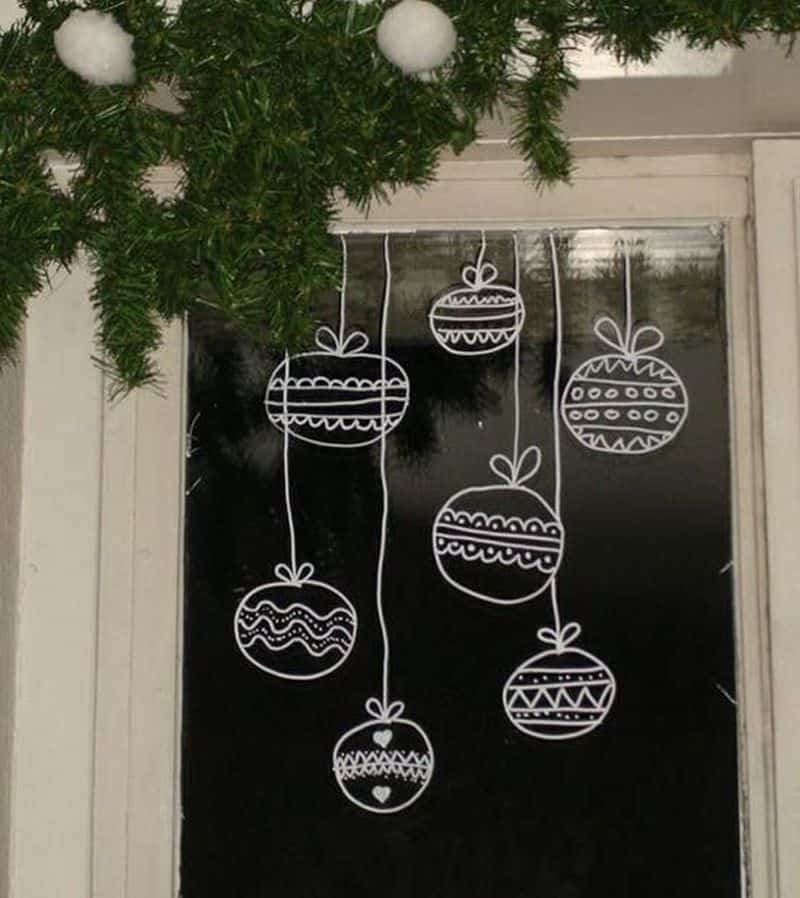
Once you’re ready to erase your window art, whether it’s because you want to draw something new or just because the holiday season is over, wiping away the liquid chalk is super easy. All you need is a damp cloth and the art will be gone, just like that.
Now that you know everything you need to create holiday window art, check out our collection of chalk markers and try this fun project out with your family this holiday season!


